How to draw Wayfinding
In this article, you can learn about how to create wayfinding using our Designer  tools. Alternatively, you can have the wayfinding professionally designed by our team in 1–3 business days.
Drawing wayfinding
After you create a floor plan or have it designed by our team, you can add wayfinding. Use the shape tools on the left-side toolbar to draw a line. After you draw it, by default it will appear on the BG (background) layer. Once you click on the line, use the right-side menu to change the layer to "WF":

The wayfinding lines should be drawn over the Designer grid lines. You can turn off the visibility of other background layers to match the grid with the wayfinding. You can do so by clicking the eye icon next to the layer name.
It's recommended to pick a color that highlights the wayfinding lines from the rest of the plan.
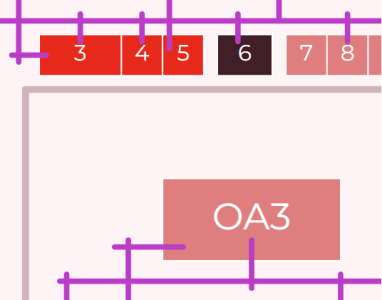
Draw the wayfinding lines along the corridors for each aisle. All the aisle lines should be connected. The crucial thing is that all those lines should intersect each other in the middle, so we recommend drawing them slightly overlapping, with their ends sticking out of the intersected line.
How to avoid walls
If two rows of booths are separated by a wall, draw wayfinding lines connecting directly into the booth:
Wayfinding properties
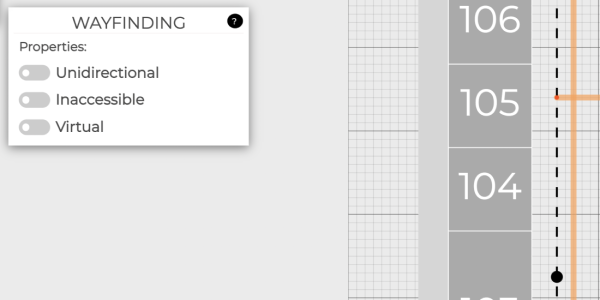
When a Wayfinding line is selected in the Designer, a menu with three property options is displayed in the top-left corner.
Unidirectional
This option allows for a specific part of the route to work in one way only. A small arrow corresponding to the allowed direction of the route will be displayed. This is useful to mark entrance/exit-only parts of the building.

Inaccessible
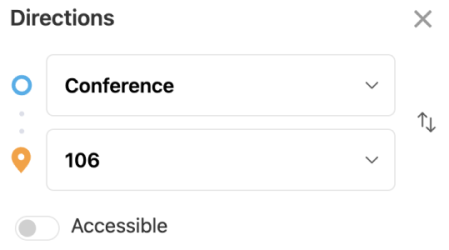
Allows you to create routes for people with special needs. An accessible/inaccessible switch will be added to the live view. Once the switch is turned on, the Wayfinding will not display routes marked as inaccessible. You can set up separate routes for people with special needs by applying inaccessible lines in places that don't have any applicable assistance, such as wheelchair elevators, ramps, etc.
Virtual
Acts as a connector for two or more routes. It can be used for tunnels/skywalks, for example. If you have the multilevel option turned on, virtual wayfinding can connect multiple floors through elevators. On the view, the virtual part will not be shown, but the routes will still be connected.
The ExpoFP team can also create wayfinding and an interactive floor plan for you.
See also: how to design a floor plan.