Invoices in ExpoFP
The invoicing system in ExpoFP allows you to record what exhibitors have paid and what they still owe. It automatically generates invoices and allows exhibitors to pay online. It is not meant to replace a dedicated system like Quickbooks, but it does cover basic invoicing needs.
Invoices are included with the Maps and Exhibitors and Maps, Exhibitors and Payments packages.
Creating invoices
When an exhibitor opens a floor plan, selects an available booth, and then buys or reserves it (see booth reservation options), this automatically creates an invoice for the exhibitor.
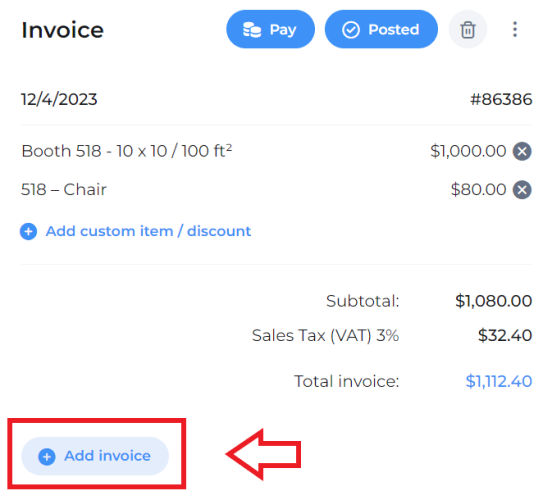
You can also create the invoices manually in Exhibitors  - Exhibitors list. Select the exhibitor, scroll down to the "Invoices" section and click Add invoice.
Adding items to invoices
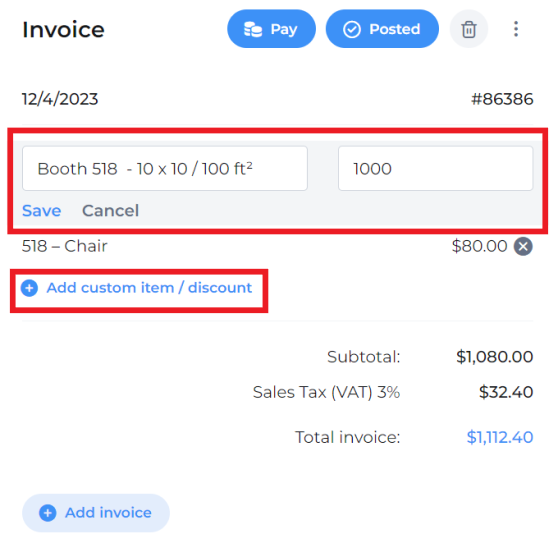
When you add a new booth, sponsorship or a booth extra, you'll see the options to add it to the invoice (existing one or a new one). You also can edit the invoices directly, adding or changing items and prices. To add a custom discount to the invoice, put a "minus" before the price.
Note that when exhibitors reserve more items, these items will be added to the new invoice automatically.
When you assign booths to exhibitors from the Designer or change booths (resize, rename, merge), invoices don't update automatically. You can update them individually and resend them to pay.
Invoices settings
In Settings  - Money, you can set your currency, payment due date, display instructions, etc. See more details here.
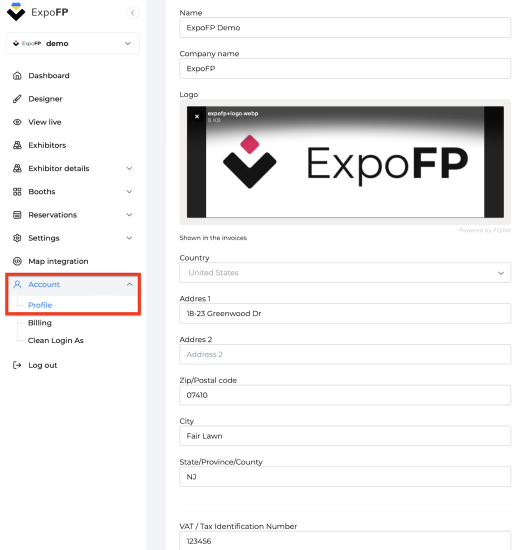
To show your address, VAT number, logo and other credentials on your invoices, add them to in Account  - Profile.
Sending invoices to pay
See here how to send invoices automatically and manually and edit the email templates.
How to turn invoices off
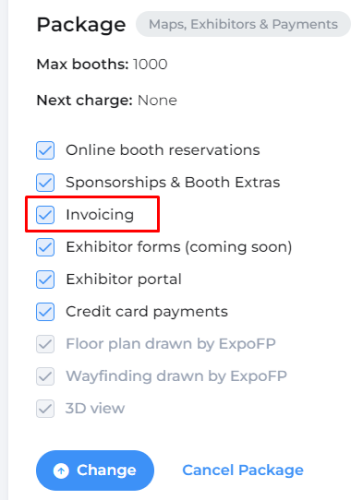
If you don't want to use our invoices, it's possible to turn off this entire section in the Dashboard  . Scroll down to your package details and uncheck Invoicing.
Frequently asked questions
Is there a way to download all exhibitor invoices in bulk instead of doing it individually?
Currently, it's not possible to download all exhibitor invoices in bulk.
How can I get a copy of the invoice when an exhibitor reserves a booth?
To receive a copy of the invoice when an exhibitor reserves a booth, add your desired e-mail address to the CC or BCC of the "Reservation confirmation" or "Invoice" template in the email templates. By default, such e-mails are only sent to the account owner's address.