Customizing reservation process and exhibitor journey
Now that we've seen the default reservation process, we can dive into customization and working with reservation settings.
Customizing live view
You can use the Settings  - Floor plan section to:
- Hide all companies (or certain ones)
- Display or hide booth prices and sizes
- Change the plan language, rename the Reserve or Buy buttons, change terms for exhibitors, extras, etc.
The Designer  can be used to distinguish available, on hold or sold booths with different colors.
Reserve vs. buy
You have the option to display the Reserve button, the Buy button, both of them or neither. To change this, go to your Dashboard  , scroll to the "Booth reservation" section and toggle the buttons on or off:
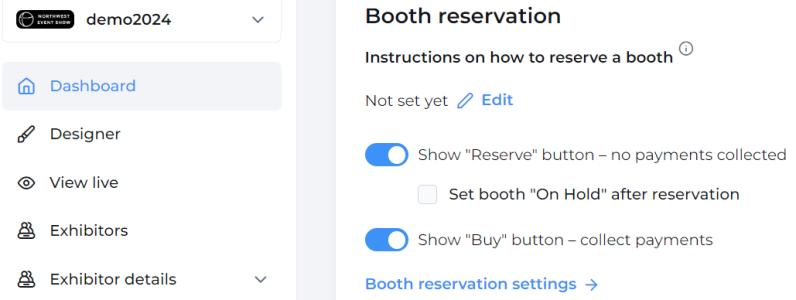
Please note that to use the Buy button and collect payments from exhibitors, you need to set your payment gateway and display booth prices. See more details here.
Show instructions on available booths
To display instructions, go to your Dashboard , scroll to the "Booth reservation" section and click Edit next to "Instructions on how to reserve a booth."
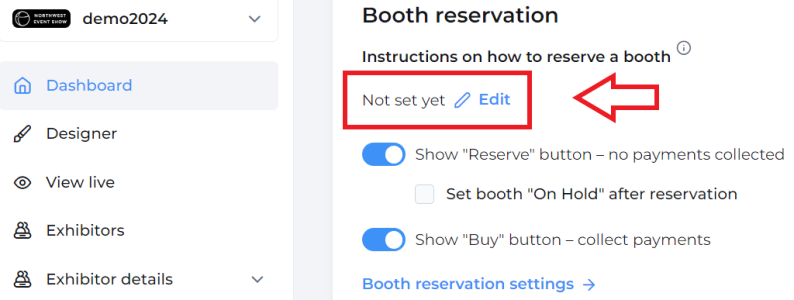
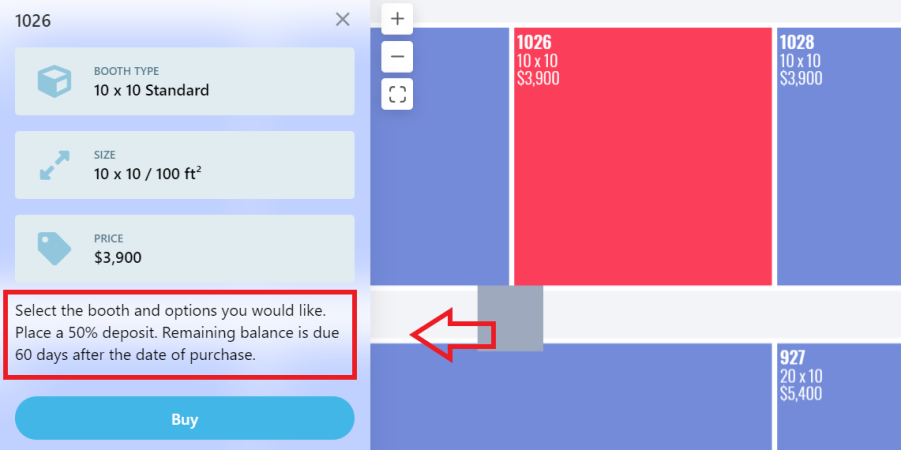
They will be displayed on all available booths as shown below:
Continue reservation on your side
You can use your own exhibitor registration form instead of ours.
Reserve/buy page
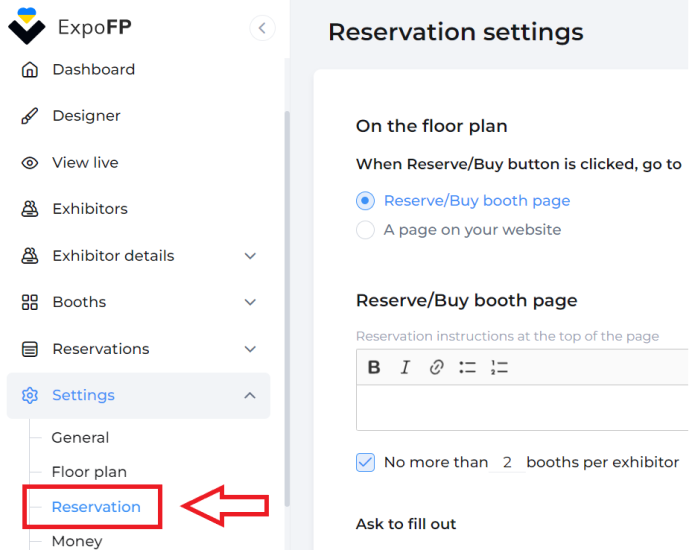
All of the options below can be found in Settings - Reservation.
Don’t forget to save your changes.
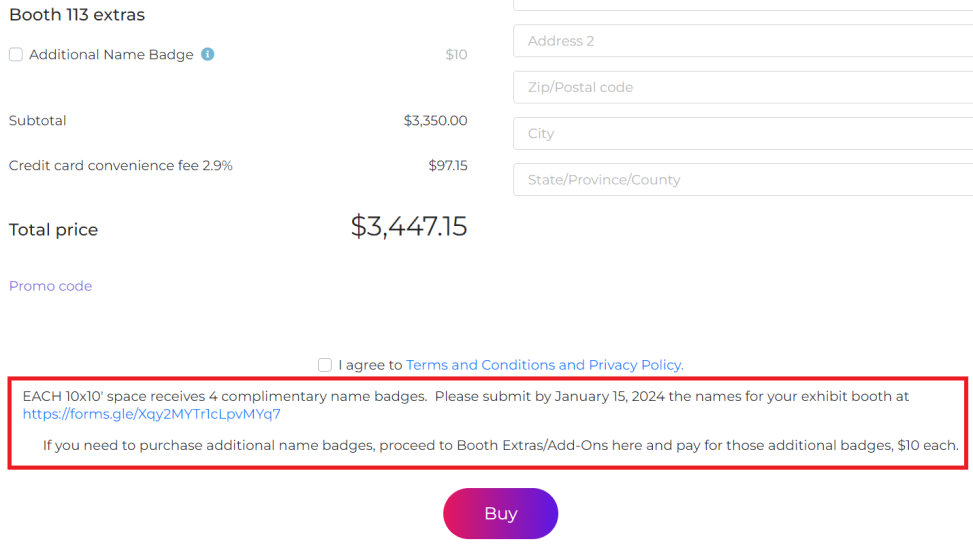
Show instructions on reserve/buy page
You can display additional instructions to reserve booths at the top or bottom of the page.
That is what the instructions will look like:
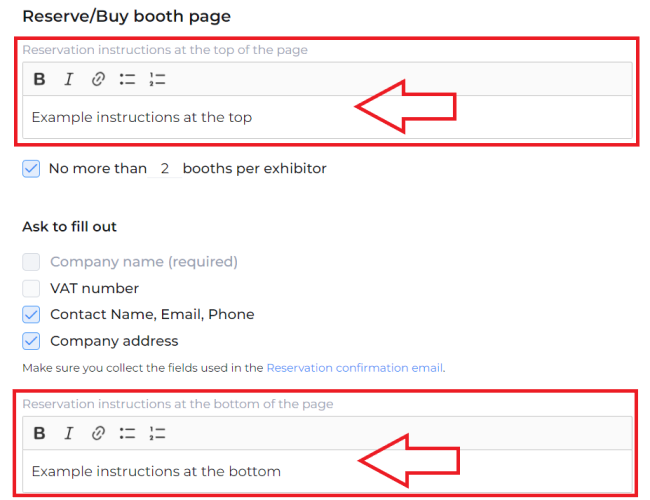
To do that, go to Settings - Reservation and fill out the corresponding fields as shown below:
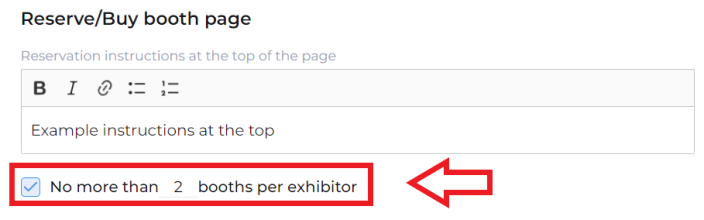
Limit the booth amount per exhibitor
By default, exhibitors have a choice to add more booths on the reserve/buy page and later on the Exhibitor Portal. However, you can restrict it.
Go to Settings - Reservation, check the box No more than __ booths per exhibitor and insert the limit number.
Note, that you can still manually assign more booths to exhibitors with no restrictions.
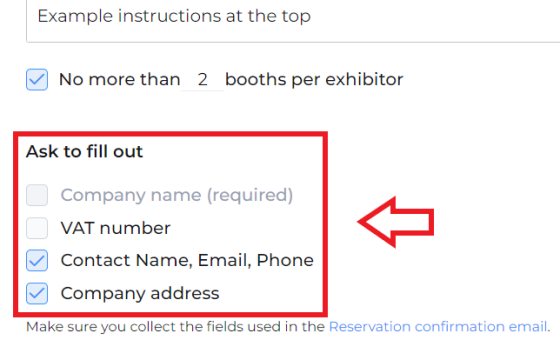
Collect company information
The company name is always required for booth reservation, however you can also choose to collect VAT number, company address and contact information (name, email, phone).
Scroll down to the "Ask to fill out" section to select the checkboxes.
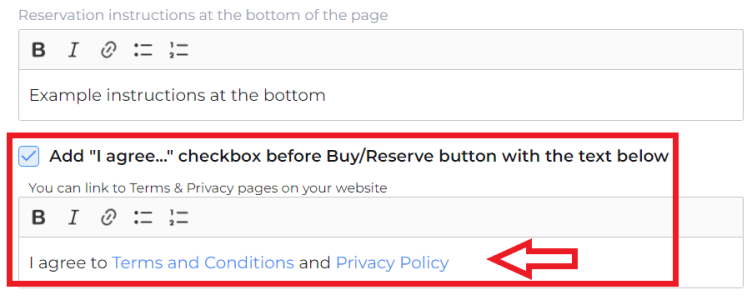
Include your terms and conditions
You can ask your exhibitors to agree to the terms of the contract, a terms and conditions policy, a privacy policy or any other agreement.
Scroll down to Add "I agree" checkbox before Buy/Reserve button with the text below. You can change the text in the field and hyperlink relevant pages.
Modify listing levels, sponsorships, extras
You can create, remove and limit your sponsorships and extras. See more details in this article.
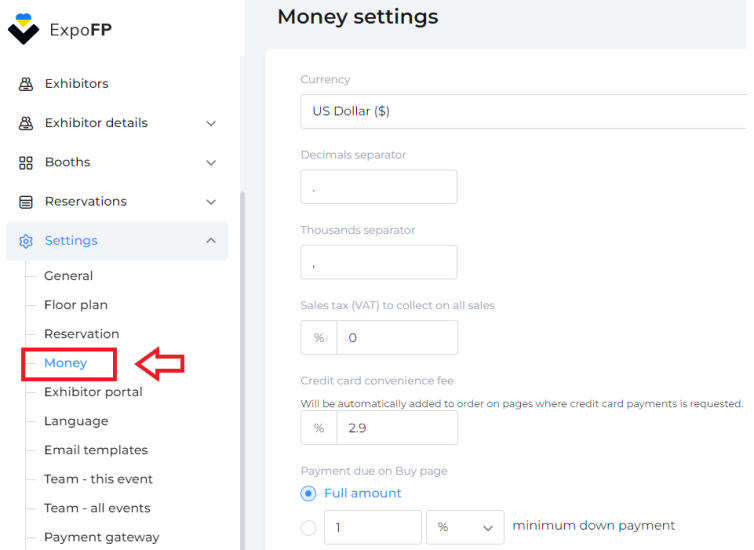
Use discounts and collect down payments
Manage your currency, sales tax and down payments in Settings - Money. Create discounts and promo codes in Reservations  - Discounts.
After the reservation is complete
In Settings - Reservation, you can also customize the workflow for when the booth reservation process is completed.
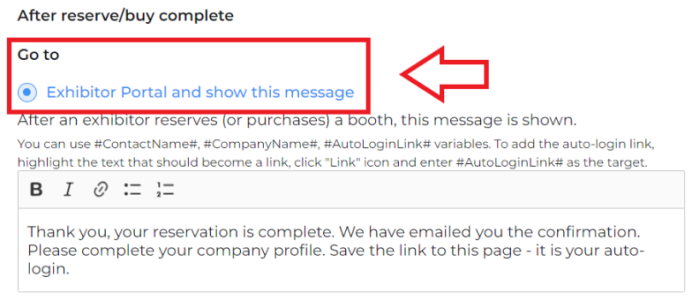
Forward to Exhibitor Portal
The Exhibitor Portal allows your exhibitors to see and manage their reservations and profiles. See more about its functionality in detail in this article.
You can show a custom message at the top of the Exhibitor Portal. To change the default message, scroll down to the "After reserve/buy complete" section:
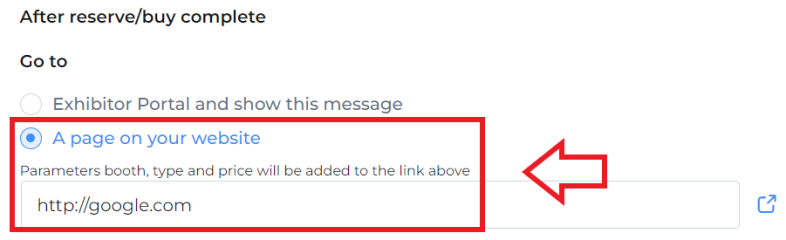
Forward to your page instead
If you'd like to redirect your exhibitors elsewhere, scroll down to the "After reserve/buy complete" section and switch from the default choice (Exhibitor Portal) to A page on your website. Then, insert the URL in the corresponding field.
On hold vs. reserved
By default, after the reservation is completed, the booth status changes to “Reserved,” and the exhibitor profile is shown on the floor plan. However, you can place the booths "On Hold" if you want to approve the reservations first.
More details are covered in this article.
Send email
And last, but not least, choose whether to send a reservation confirmation email, an invoice email or neither. You can customize the text of the emails and attach documents. More details about sending emails are covered here.
To set your preferences, scroll down to "Send email" section at the bottom:
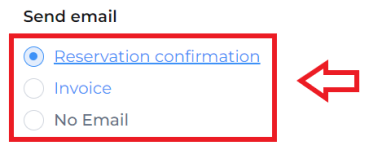
Click on the type of email to get forwarded to its template right away.